
Blesta
What is Blesta?
Blesta is a comprehensive billing and client management platform designed primarily for web hosting companies and other service providers. It's a software solution that automates various aspects of a business, including billing, invoicing, client management, and support.
Key Features of Blesta:
Billing Automation: Automatically generates and sends invoices, handles both one-time and recurring payments, and supports various payment gateways.
Client Management: Offers a centralized client portal for managing services, viewing invoices, and making payments, with support for multiple currencies and languages.
Service Provisioning: Integrates with web hosting control panels and domain registrars to automate service management, supporting a wide range of digital services.
Support System: Includes a built-in ticketing system, enabling businesses to provide customer support directly through Blesta.
Customizable and Extendable: Features a modular design that allows for easy customization and the addition of new features through plugins and extensions.
Security: Offers robust security measures like two-factor authentication (2FA) and data encryption, with regular updates to ensure security.
Reporting and Analytics: Provides detailed reports on business metrics, with customizable dashboards for real-time monitoring.
Multi-Company Support: Allows management of multiple companies or brands from a single installation, each with distinct settings and services.
OxaPay Plugin For Blesta
Integrating OxaPay with Blesta is a strategic step toward expanding your business and reaching new milestones. The OxaPay plugin for Blesta allows businesses to accept cryptocurrency as a fully integrated payment method, thereby widening your customer base and enhancing payment convenience.
By leveraging Blesta, you can efficiently automate various aspects of your business operations. Enabling the OxaPay plugin on the Blesta platform enhances operational efficiency and increases customer engagement by facilitating crypto transactions with minimal fees and rapid processing times.
How To Set Up OxaPay Plugin For Blesta?
To install the OxaPay plugin (Click here to download it) for Blesta, move the plugin folder to the following path “Blesta → components → gateways → nonmerchant”.
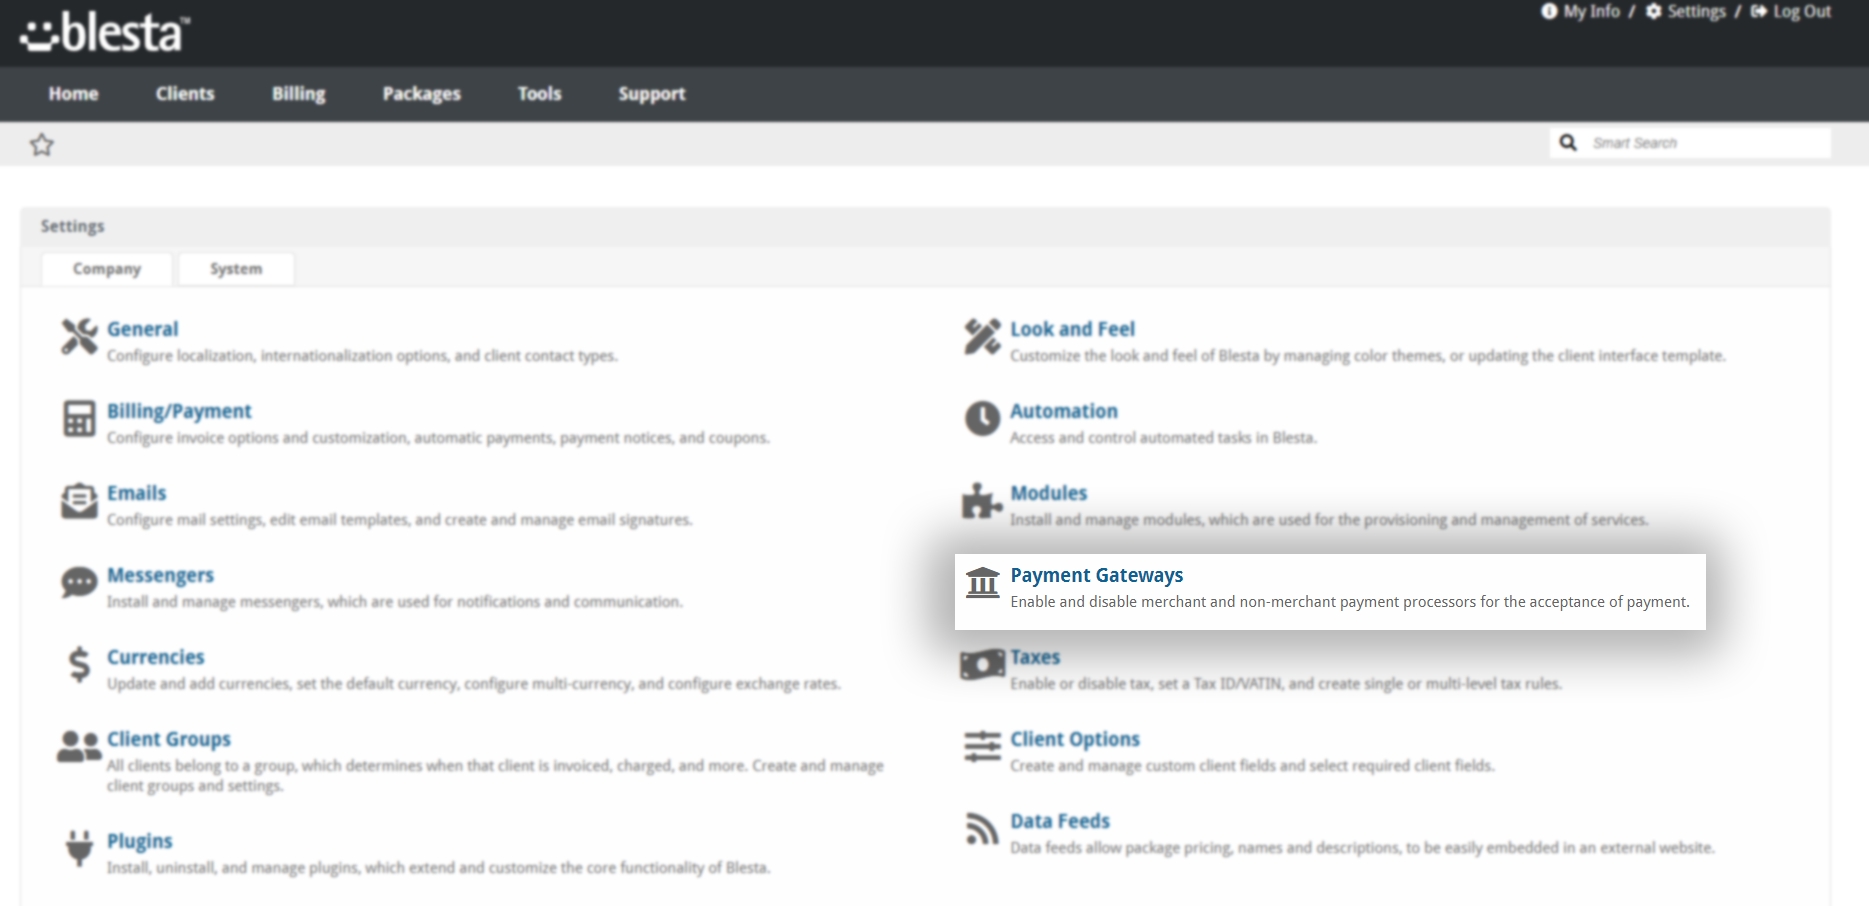
Navigate to the settings section within Blesta. Click on the "Payment Gateway" option in the settings page.
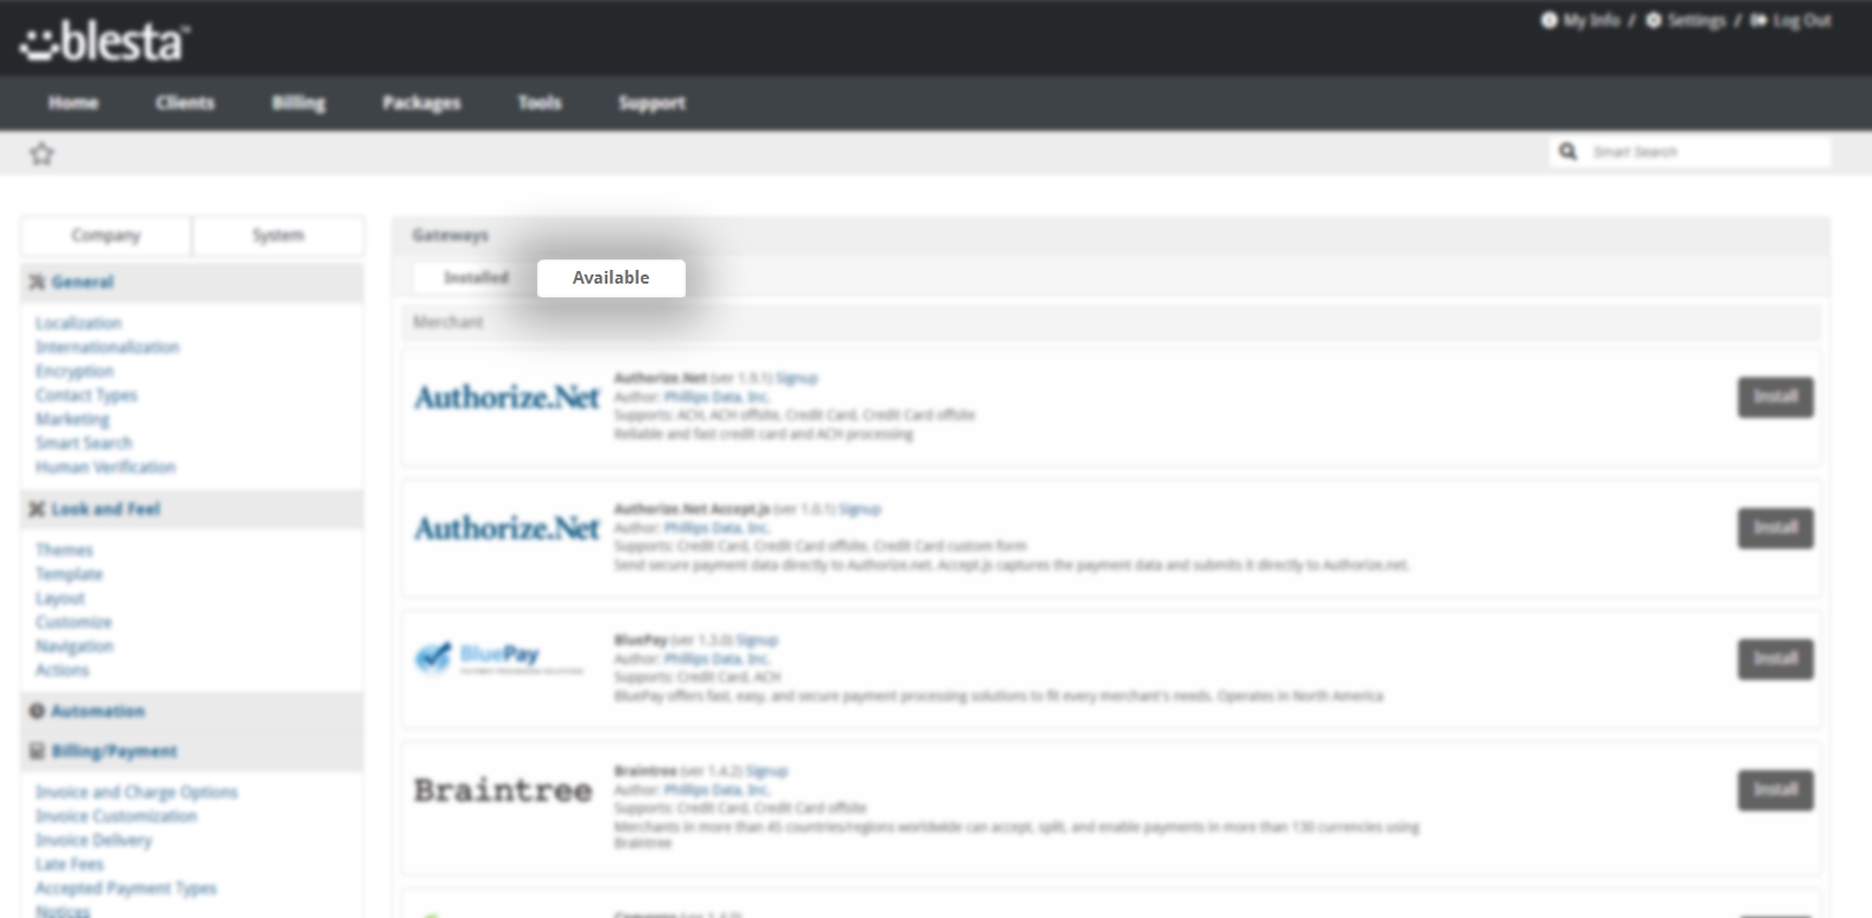
In the "Available" section, locate the "OxaPay Payment Gateway" under the Non-Merchant category, and click on the "Install" button.
Enter your OxaPay Merchant API key in the designated field. You can find this key in your OxaPay panel. If you don't have an API key, click here to learn how to create one. Alternatively, you can use the "sandbox" mode for testing. After entering the Merchant API key, click on "Update Settings" to finalize the setup.

You can download the OxaPay plugin for Blesta by clicking on the file below:
We hope this article was helpful to you! The OxaPay plugin for Blesta is a powerful and valuable tool to elevate your business to the next level.
Last updated